Step-by-Step Guide: How to Install Engine Air Filter Correctly
Knowing how to install engine air filter components properly is just as important as choosing the right one. A filter that’s high quality but installed incorrectly can still let unfiltered air into the engine, or fail well before its expected service life — undoing the benefit of a good filter in the first place.
This guide walks through the installation process step by step, covering the details that matter most for heavy-duty trucks and equipment, where a poor seal or a rushed installation has a much bigger impact than it might on a passenger vehicle.
Step 1: Gather the Right Tools and Confirm the Correct Filter
Before starting, confirm you have the correct replacement filter for your specific engine, model, and production year — a filter that looks similar but doesn’t match the exact OEM specification can cause fitment or sealing issues. Have basic tools on hand (typically a screwdriver or wrench for housing clamps, depending on your air filter housing design) along with a clean rag or shop towel.
Step 2: Park on a Level Surface and Let the Engine Cool
Always perform filter replacement with the engine off and cooled down, parked on a level surface. This isn’t just a safety precaution — working on a level surface also makes it easier to keep the housing clean and prevents debris from falling into open components at an awkward angle.
Step 3: Locate and Open the Air Filter Housing
The air filter housing is typically a rectangular or cylindrical box connected to the intake tubing, usually secured with clips, clamps, or bolts depending on the vehicle. Open the housing carefully, keeping track of any clips or fasteners so they can be reinstalled correctly. Avoid forcing the housing open, since housing latches can be brittle, particularly on older equipment.
Step 4: Remove the Old Filter and Inspect the Housing
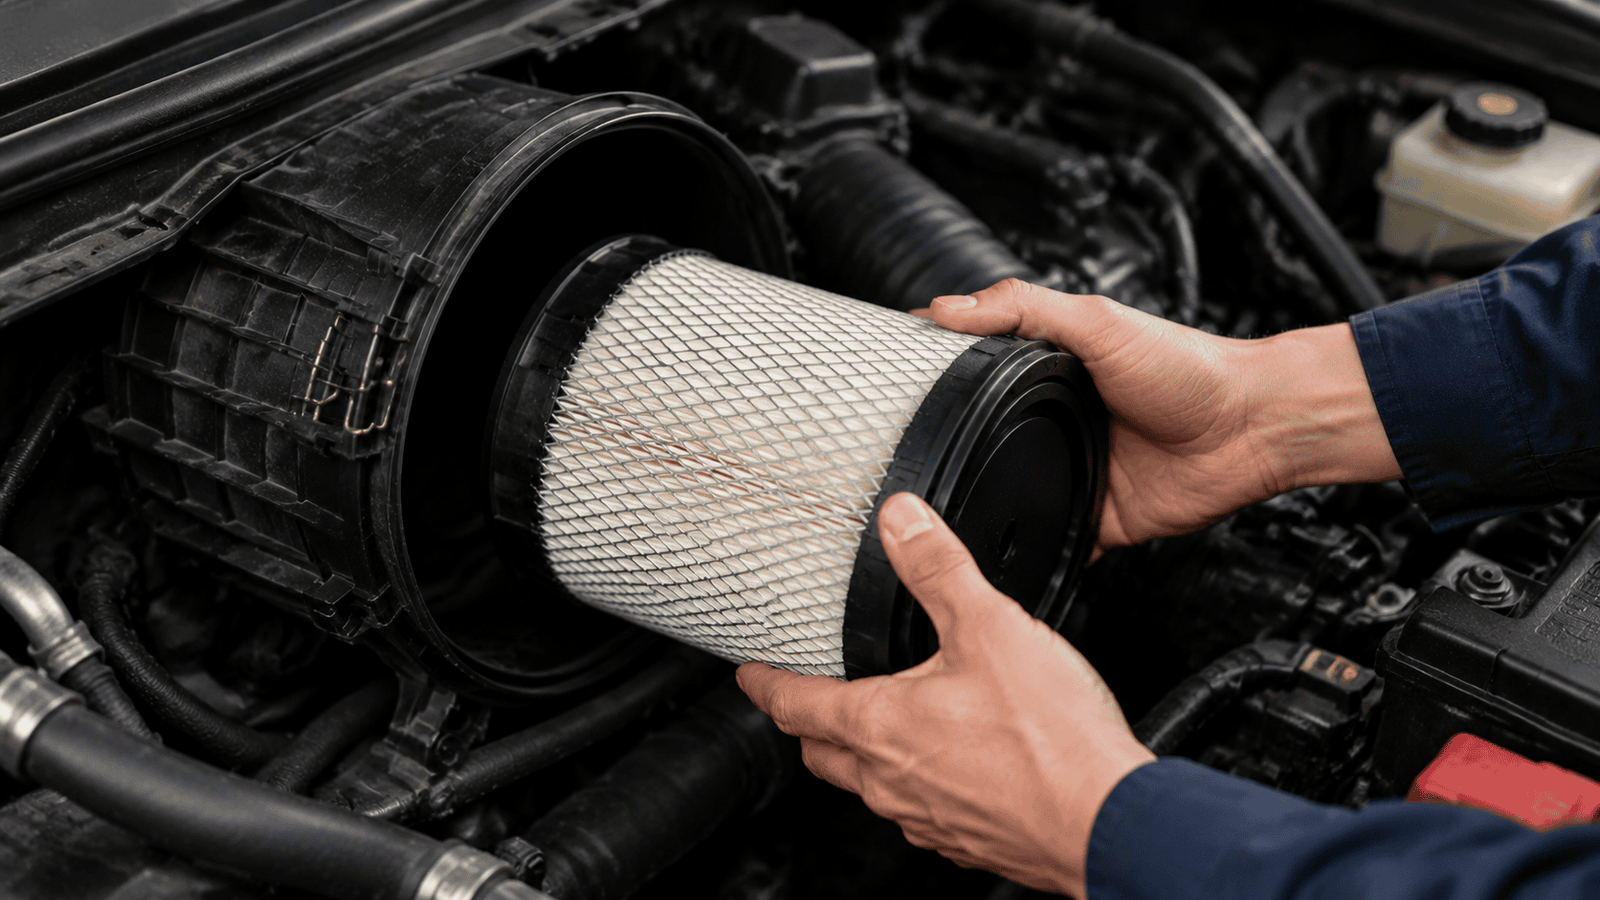
Carefully remove the old filter, noting its orientation before it comes out — some filters are directional and need to be installed the same way. Once removed, inspect the housing interior for dust, debris, or moisture. Wipe it out with a clean rag before installing the new filter; installing a new filter into a dirty housing significantly reduces its effective service life.
Step 5: Check the New Filter for Damage Before Installing
Before installing the new filter, inspect it for any shipping or handling damage — cracked end caps, torn media, or a damaged seal are rare but worth catching before installation rather than after. A damaged filter should never be installed, even if the damage looks minor, since even a small gap in the seal can allow unfiltered air to bypass the filter media entirely.
Step 6: Seat the Filter Properly and Confirm the Seal
Place the new filter into the housing, making sure it’s fully seated and aligned correctly — most filters have a defined orientation and won’t seal properly if installed backward or at an angle. Run a hand around the perimeter of the filter to confirm even contact with the housing, with no visible gaps. This step is where most installation errors happen, and it’s worth taking the extra few seconds to get right.
Step 7: Close the Housing and Double-Check the Seal
Close and secure the housing using the same clips, clamps, or bolts removed in Step 3, making sure they’re fully engaged rather than just resting in place. A housing that isn’t fully latched can work loose from vibration during operation, allowing unfiltered air past the filter even if the filter itself was installed correctly — a failure point covered in more detail in general air filter housing replacement guidance. Once secured, do a final visual check to confirm the housing sits flush and there are no visible gaps around the seal.
Common Installation Mistakes to Avoid
- Installing a filter backward or misaligned — most air filters have a specific orientation, and installing them incorrectly compromises the seal
- Skipping the housing inspection — dust or debris left in the housing contaminates the new filter immediately
- Forcing a filter that doesn’t quite fit — if a filter doesn’t seat properly without force, double-check that it’s the correct part before installing it anyway
- Not fully securing the housing — clips or bolts that aren’t fully engaged can work loose during operation
- Reusing a damaged filter “just this once” — even minor damage can compromise the seal and let contaminants through
Why Installation Quality Matters as Much as Filter Quality
A properly manufactured filter with a poor installation performs worse than a slightly lower-spec filter installed correctly — because a compromised seal defeats the filtration process entirely, regardless of the media quality inside. For fleet managers training new technicians, or distributors fielding questions from customers, having a clear, repeatable installation process reduces comebacks, warranty claims, and the kind of preventable engine wear that a properly sealed filter is supposed to prevent in the first place.
Quality Filters, Built for a Reliable Fit
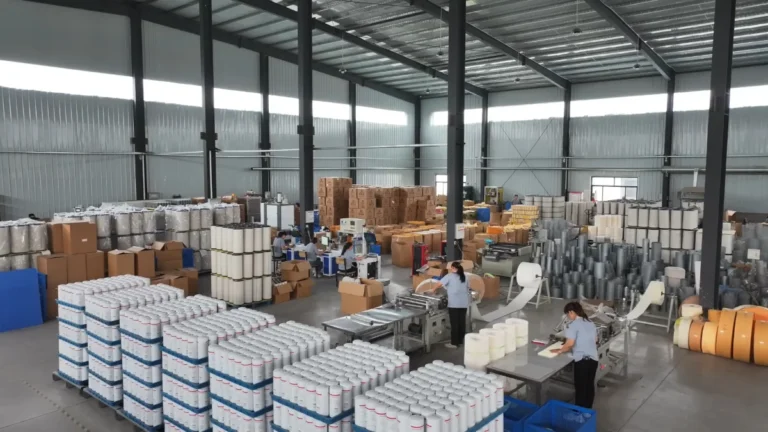
At IXIN Filter, we manufacture air filters engineered to seat and seal correctly the first time, dimensionally verified against OEM specifications rather than just matched by part number. Every batch is quality-checked before production, helping ensure that a correct installation results in the filtration performance the engine was designed around.
Need help identifying the right air filter for your equipment? Contact IXIN Filter to request a product catalog or quote.